Ingredients
Equipment
Method
- Combine the dry ingredients: Add the whole-wheat flour, spelt flour, barley flour, millet flour, lentil flour, soy flour, vital wheat gluten, yeast, and salt to a large bowl. Whisk well so the smaller flours are evenly distributed.
- Add the wet ingredients: Pour in the warm water, olive oil, and honey. Stir until the ingredients form a thick, sticky dough with no visible dry flour.
- Rest the dough: Cover the bowl and let the dough rest for about 10 minutes. This gives the whole-grain flours time to absorb the moisture.
- Mix or knead lightly: Knead the dough gently for about 4–5 minutes, or mix with a dough hook on low speed. Do not keep adding flour to make it smooth; this dough should remain soft and slightly tacky.
- Prepare the loaf pan: Lightly grease a 9 × 5-inch loaf pan with oil.
- Transfer the dough: Scrape the dough into the pan and smooth the surface with wet or lightly oiled fingers. This is much easier than trying to shape it like a regular white-bread dough.
- Let it rise: Cover the pan loosely and leave it in a warm place for about 60–75 minutes, or until the dough looks noticeably puffed.
- Preheat the oven: Heat the oven to 350°F (175°C) while the dough finishes rising.
- Bake the bread: Place the pan in the center of the oven and bake for 45–55 minutes, until the loaf is deeply browned and feels firm through the center.
- Check the center: For a more reliable doneness check, the center should reach approximately 190–200°F (88–93°C).
- Cool before slicing: Leave the loaf in the pan for about 10 minutes, then transfer it to a wire rack. Let it cool substantially before slicing so the crumb can finish setting.
Notes
Baking Tips
The biggest thing I would watch with this homemade Ezekiel bread is the dough consistency. Do not add flour just because the dough feels sticky. The grain and legume flours absorb water differently from ordinary bread flour, and making the dough too dry can leave the finished loaf heavy and crumbly. Use wet fingers when smoothing the dough. It makes the sticky mixture much easier to spread evenly in the loaf pan. Watch the dough instead of relying only on the timer. A cool kitchen can slow the rise, while a warm kitchen can speed it up. Let the bread cool before cutting. A dense whole-grain loaf can look underbaked when it is simply still hot inside. Slice and freeze extra bread. This keeps the remaining loaf easier to use later and makes quick toast convenient.Texture and Flavor
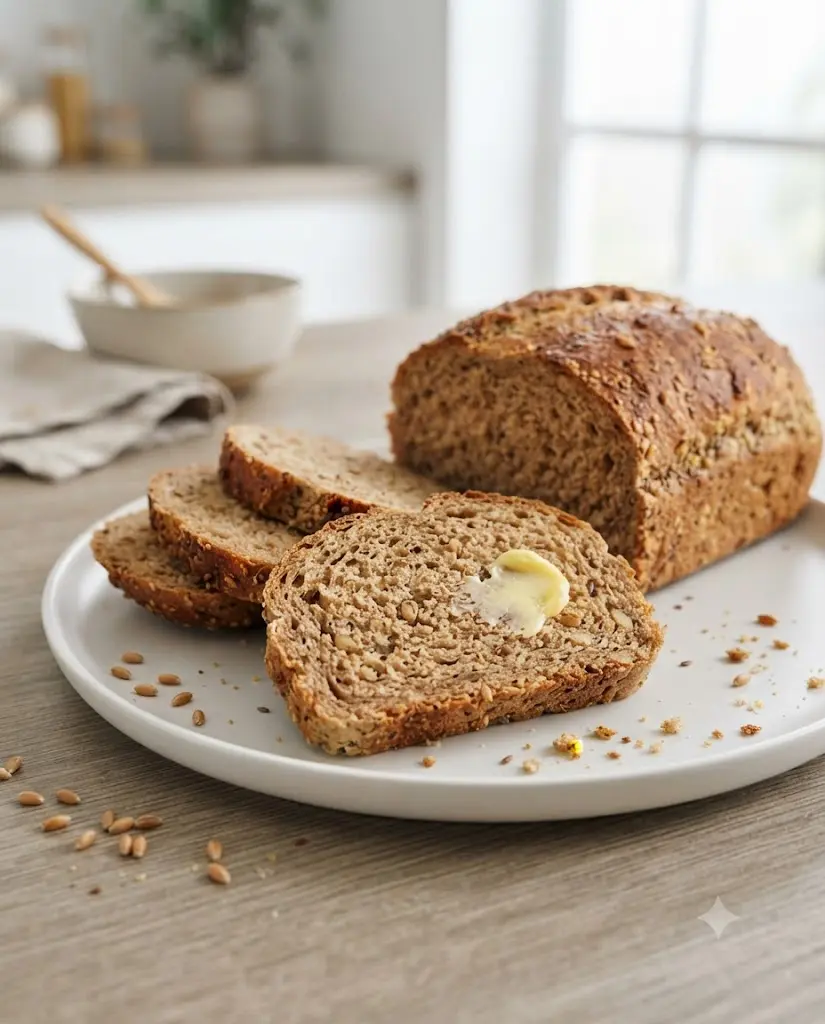
The finished loaf should have a deeply browned crust, hearty grain flavor, slightly nutty notes, and a moist but firm crumb. It will not have the airy texture of a standard white sandwich loaf. That is part of what makes this style of bread distinctive. For the best texture, slice it moderately thin and toast it before adding toppings.Storage
Room temperature: Keep the completely cooled loaf in an airtight bread bag or container and use it within a few days. Refrigerator: Useful when your kitchen is warm, although refrigeration can make bread feel firmer. Freezer: Slice the cooled loaf and freeze the pieces in an airtight freezer-safe bag or container for longer storage.Serving Ideas
- Avocado and egg
- Peanut butter and banana
- Hummus and cucumber
- Cottage cheese and berries
- Turkey, tomato, and greens
- Almond butter and sliced apple
- Butter with cinnamon