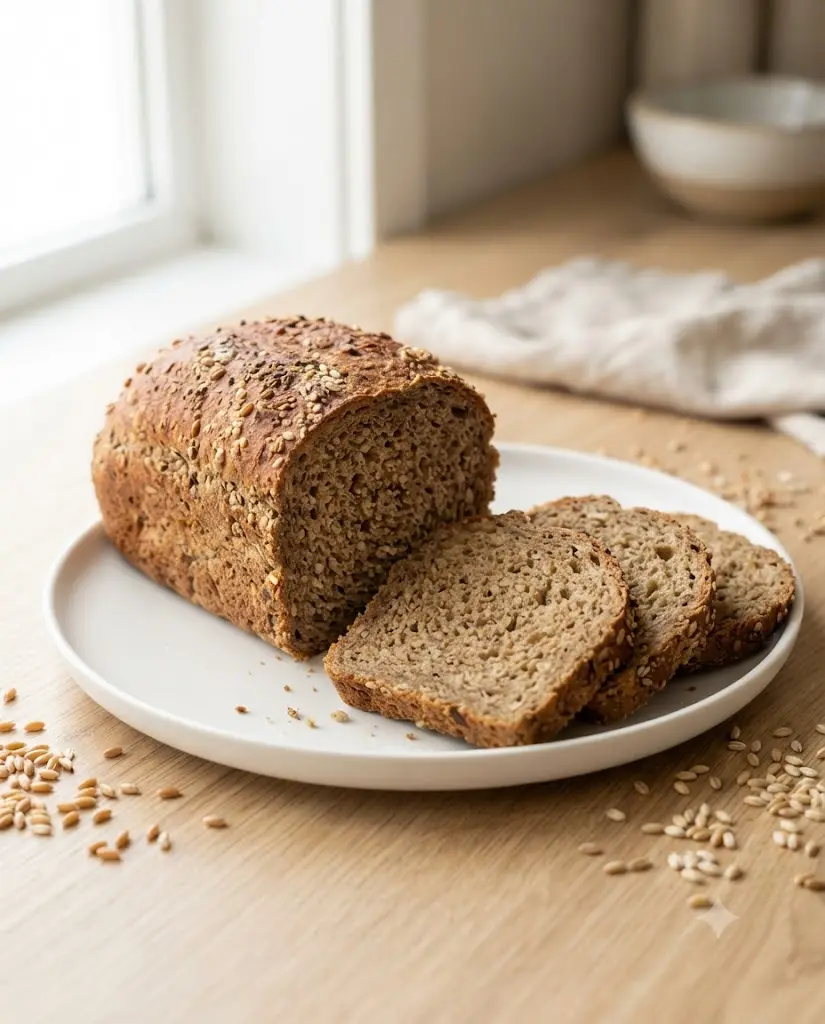
Ingredients
Equipment
Method
- Mix the dry ingredients: Add the whole wheat flour, spelt flour, barley flour, millet flour, lentil flour, bean flour, yeast, and salt to a large bowl. Stir until everything is evenly combined.
- Add the wet ingredients: Pour in 1 cup of warm water, then add the olive oil and honey. Mix until a rough dough forms.
- Adjust the dough: Add the remaining water a little at a time only when needed. The dough should feel soft and slightly tacky, not wet or runny.
- Knead the dough: Transfer the dough to a lightly floured surface and knead for about 8–10 minutes. It should become more cohesive and elastic as you work it.
- Let the dough rise: Place the dough in a lightly oiled bowl, cover it, and leave it in a warm, draft-free place for about 60–90 minutes, or until visibly expanded.
- Shape the loaf: Gently press out excess air and shape the dough into a compact loaf. Place it into a greased 8½ × 4½-inch loaf pan.
- Let it rise again: Cover the pan and allow the dough to rise for about 30–45 minutes. It should look noticeably puffed before baking.
- Preheat the oven: Heat the oven to 350°F (175°C) while the shaped loaf finishes rising.
- Bake the bread: Place the loaf in the oven and bake for 35–40 minutes, until the top is deeply golden and the loaf feels firm.
- Protect the crust if needed: If the top is browning too quickly, loosely cover it with foil during the final part of baking.
- Cool completely: Remove the bread from the pan and place it on a wire rack. Let it cool completely before slicing so the crumb can finish setting.
- Slice and serve: Use a serrated knife and cut gentle slices. Toast the bread for an especially crisp crust and warm, hearty center.
Notes
Baking Notes
Keep the dough softer than you might expect: Whole-grain and legume flours absorb plenty of water, so adding too much extra flour can leave the finished loaf unnecessarily dense. Watch the dough instead of the clock: Rise time changes with room temperature. A visibly expanded dough is a better cue than blindly following the minute count. Do not rush the cooling step: The center can seem gummy when sliced hot even when the loaf is properly baked. Use a serrated knife: The loaf has a hearty crumb, so sawing gently through the crust gives cleaner slices than pressing straight down. Toast leftovers: The denser texture becomes especially pleasant when toasted, making older slices useful instead of wasteful.Recipe Tips
- Use ready-made flours: A grain mill is not necessary for this homemade version.
- Add water gradually: Different whole-grain flours can absorb slightly different amounts of liquid.
- Do not overload the dough with extra flour: A slightly tacky dough usually gives a better result than a stiff one.
- Check the center before slicing: The loaf should feel firm rather than squishy in the middle.
- Cool before storage: Wrapping warm bread can trap excess moisture.
- Freeze sliced bread: Individual slices are easier to thaw and toast when needed.
Storage
Room temperature: Keep the completely cooled loaf tightly wrapped and use within a few days. Freezer: Slice the loaf before freezing and store the slices in an airtight freezer-safe bag. To serve from frozen: Toast individual slices directly from frozen for convenience.Serving Ideas
- Eggs and avocado
- Hummus and sliced vegetables
- Peanut butter and banana
- Turkey or chicken sandwiches
- Cottage cheese with herbs
- Butter with cinnamon