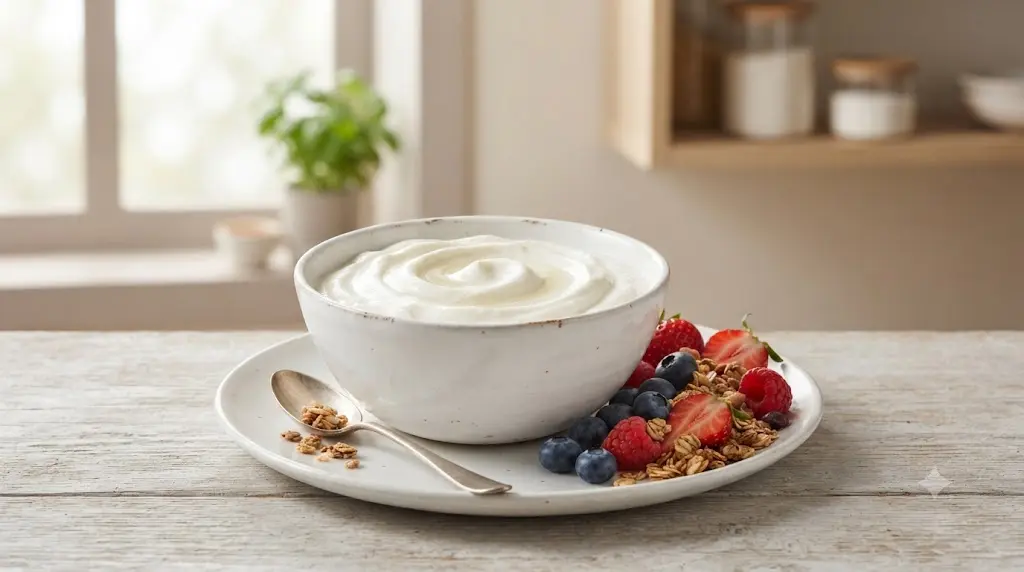
Making a skyr recipe instant pot style at home looks more complicated than it really is. The Instant Pot takes care of the steady fermentation temperature, while the real work happens in just a few places: heating the milk, adding the culture at the right temperature, and straining it until the texture feels right.
The result is a thick, tangy, spoonable dairy recipe that works beautifully with berries, honey, granola, or a little vanilla.
I prefer keeping this process simple. There is no need to keep opening the Instant Pot or constantly stir the milk while it ferments. A thermometer and a clean setup make a much bigger difference.
What Is Skyr?
Skyr is an Icelandic cultured dairy food that is commonly made from skim milk. It is often compared with Greek yogurt because both can be thick and high in protein, but traditional skyr is made using a culture and typically a small amount of rennet, giving it a soft-cheese character.
For a home kitchen, the easiest way to think about it is this: ferment the milk, then strain it until you get the thickness you like.
That final straining step is what makes a noticeable difference in texture.
Why Make Instant Pot Skyr?
The biggest advantage of instant pot skyr is convenience.
The Yogurt program gives you a controlled environment for fermentation, so you do not have to find a warm corner of the kitchen and hope the temperature stays steady. Instant Pot Pro models also have a dedicated Yogurt program with adjustable fermentation settings.
There is still waiting involved, though. This is not a 20-minute recipe.
The active work is short. The fermentation, chilling, and straining are what take time.
What You Need
For a manageable batch, I recommend starting with:
- ½ gallon pasteurized skim milk
- 2–3 tablespoons plain skyr or plain yogurt with live cultures
- 3 drops single-strength liquid rennet
- 2 tablespoons cool, chlorine-free water
- Pinch of salt, optional
- Honey, vanilla, berries, or granola for serving
Traditional skyr is associated with skim milk, although home recipes also use other dairy milk. For the most skyr-like result, skim milk is a sensible starting point.
If your rennet has a different strength, follow its label rather than automatically using the amount above.
Equipment
You will also want:
- Instant Pot with a Yogurt function
- Digital food thermometer
- Whisk
- Fine-mesh strainer
- Cheesecloth or a clean flour-sack towel
- Large bowl
- Clean storage container
Clean equipment matters with cultured dairy. Food-safety guidance for homemade yogurt also recommends using commercially pasteurized milk or properly pasteurizing raw milk before culturing.
How to Make Skyr in an Instant Pot
Heat the Milk
Pour the milk into the clean Instant Pot inner pot.
Use the Yogurt program to heat the milk if your model provides the pasteurizing or boil function. Otherwise, use an appropriate heating function and check the temperature with a thermometer.
Bring the milk to about 180–190°F.
This step is more important than simply waiting for the Instant Pot to beep. Milk temperature can vary by model and starting temperature, so use the thermometer as your final check. Heating milk in this range also helps develop a firmer cultured texture.
Cool It Before Adding the Culture
Take the inner pot out of the base and let the milk cool.
Wait until it reaches roughly 105–110°F.
Do not rush this part by adding the starter while the milk is still very hot. Excessive heat can damage the live culture you are relying on for fermentation.
For the cleanest reading, place the thermometer into the milk rather than touching the bottom of the pot.
Mix in the Starter
Scoop a little of the warm milk into a small bowl.
Add the plain skyr or live-culture yogurt and whisk until smooth. Pour that mixture back into the main pot and whisk gently.
This small step helps distribute the starter evenly instead of dropping a thick spoonful directly into the milk.
Add the Rennet
Mix the rennet with the cool water in a small cup.
Pour it into the cultured milk while whisking gently for several seconds.
Rennet is useful here because it helps the milk develop the firm, slightly cheese-like structure associated with traditional skyr.
Do not keep whisking aggressively once everything is incorporated.
Start Fermentation
Put the inner pot back into the Instant Pot.
Select the Yogurt function and use a low-temperature fermentation setting appropriate for your model.
For this recipe, start with about 6 hours.
Five hours can produce a mild result, while a longer fermentation can make the flavor more pronounced. Instant Pot’s own yogurt guidance notes that longer fermentation produces tangier yogurt.
Do not use pressure cooking for this stage.
The Yogurt program is doing the work.
Chill Before Straining
When fermentation is finished, the mixture should look set rather than liquid like milk.
Cover the pot and place it in the refrigerator.
Give it several hours to become thoroughly chilled before straining. Chilling first makes the curd easier to handle and gives you a better idea of how firm the finished skyr will be.
Strain Until Thick
Line a fine-mesh strainer with cheesecloth or a clean flour-sack towel and place it over a bowl.
Spoon the chilled cultured milk into the lined strainer.
Refrigerate while it drains.
For a softer, spoonable texture, start checking after a couple of hours. For an exceptionally thick texture, continue longer.
The longer you strain, the more whey you remove.
That means there is no single “correct” straining time. Stop when the consistency looks right to you.
Reserve the whey instead of automatically throwing it away. It can be useful in smoothies, doughs, soups, or other cooking applications.
How to Make Skyr Without Rennet
One of the most common questions around how to make skyr without rennet is whether it can still be made successfully.
Yes, you can ferment milk without rennet and then strain it until thick. However, the result is better described as strained yogurt or Icelandic-style yogurt rather than traditional skyr.
If you want the characteristic thicker set associated with traditional skyr, rennet is useful.
So there are really two approaches:
| Method | Result |
|---|---|
| Culture + rennet + straining | More skyr-like texture |
| Culture + straining | Thick yogurt-style result |
That distinction is worth knowing before you start.
The Best Starter for Instant Pot Skyr
A plain skyr with live cultures is an easy starting point when available.
You can also use plain yogurt containing live and active cultures. The final result may taste slightly different because the culture is not identical to a dedicated skyr culture.
Avoid flavored yogurt as your starter.
Sugar, fruit pieces, and added thickeners are unnecessary here.
The simpler the starter, the easier it is to understand what is happening in the batch.
Does Instant Pot Skyr Taste Like Greek Yogurt?
They are similar, but the texture can feel different.
Skyr is usually very thick and dense after straining. Greek yogurt often has a softer spoonable texture, depending on how it was strained.
You can also control the final result yourself.
Strain for less time and you get a softer consistency. Strain longer and you get something much thicker.
That makes homemade Skyr recipe surprisingly flexible.
Is Instant Pot Skyr Healthy?
Searches such as instant pot skyr healthy are common because skyr is known for being protein-rich, particularly when made from skim milk.
But homemade skyr does not automatically have one fixed nutritional profile. The milk you choose, how much whey you remove, and what you add afterward all affect the final food.
Plain homemade skyr is very different nutritionally from a version loaded with sweeteners, chocolate, or sugary toppings.
For everyday use, I like keeping the base unsweetened and adding fruit or a small amount of honey when serving.
Can Instant Pot Skyr Be Frozen?
Yes, instant pot skyr frozen is possible, but freezing changes the texture.
After thawing, cultured dairy can become less smooth and may release some liquid. USDA guidance notes that freezing preserves food but can affect quality and texture, while yogurt-specific guidance also reports texture changes after freezing.
For that reason, frozen skyr is often more useful in:
- Smoothies
- Baking
- Frozen breakfast mixes
- Sauces where texture is less critical
For eating straight from a bowl, fresh is usually the better texture.
What Can You Serve With Homemade Skyr?
Plain skyr is a good base because it works with both sweet and savory flavors.
For breakfast, try:
Skyr + berries + granola + honey
For a quick snack:
Skyr + banana + cinnamon + chopped nuts
For a savory option:
Skyr + herbs + lemon + black pepper
You can also use thick skyr as a base for dips, spreads, or creamy sauces.
The important thing is to add toppings after straining, not during fermentation.
Troubleshooting Your Instant Pot Skyr
It is too thin
The easiest fix is additional straining.
Also check whether the milk reached the recommended heating temperature and whether the starter was active. Proper yogurt-making guidance emphasizes both adequate heat treatment and viable culture.
It tastes too sour
Reduce the fermentation time on your next batch.
Longer fermentation generally produces a tangier flavor.
It did not set
Check the starter first.
It should contain live cultures and be fresh. Temperature also matters because yogurt cultures need an appropriate fermentation range to grow properly.
It has an unusual smell or visible mold
Do not taste it to see whether it is safe.
Food-safety guidance recommends discarding yogurt showing visible microbial growth or abnormal odors.
Storage
Keep finished skyr refrigerated at 40°F or below.
Dairy foods should remain properly chilled, and perishable foods should not be left at room temperature for extended periods.
For the best texture, keep the skyr plain and covered, then add fresh toppings when you are ready to eat it.
Related Recipe Searches
If you are exploring more old-fashioned food and drink ideas, you may also come across searches such as Mormon tea recipe, horehound candy recipe, and old fashioned cough candy recipe.
These are separate recipe topics from skyr and should not be mixed into the dairy-making process. Keeping them separate also makes it easier to follow each recipe for what it is intended to make.
Recipe Card: Instant Pot Skyr
Recipe name: Instant Pot Skyr
Prep time: 15 minutes
Heating time: 30–60 minutes, depending on the cooker
Fermentation: 5–6 hours
Chilling: 4–6 hours
Straining: 2–8 hours
Yield: About 3–5 cups, depending on straining
Cuisine: Icelandic-inspired
Method: Instant Pot Yogurt function
Ingredients
- ½ gallon pasteurized skim milk
- 2–3 tablespoons plain skyr or plain yogurt with live cultures
- 3 drops single-strength liquid rennet
- 2 tablespoons cool, chlorine-free water
- Honey or vanilla, optional
- Fresh berries or granola, optional
Instructions
Heat: Add milk to the Instant Pot and heat to about 180–190°F.
Cool: Let the milk cool to approximately 105–110°F.
Culture: Whisk the starter with a little warm milk, then mix it into the pot.
Set: Mix the rennet with water and gently stir it into the milk.
Ferment: Use the Yogurt function for about 6 hours.
Chill: Refrigerate the set mixture for several hours.
Strain: Strain through cheesecloth in the refrigerator until the desired thickness is reached.
Serve: Stir gently and serve plain or with fruit, honey, or granola.
Skyr Recipe Instant Pot
Ingredients
Equipment
Method
- Warm the milk: Pour the milk into the clean Instant Pot insert. Select the Yogurt function and use the appropriate Boil setting if your model has one. Heat the milk to about 190°F (88°C) and verify the temperature with a thermometer.
- Cool the milk: Remove the inner pot from the Instant Pot and let the milk cool to about 105–110°F (40–43°C). Stir gently from time to time so the temperature drops evenly.
- Mix the starter: Place the yogurt starter in a small bowl. Add a little of the warm milk and whisk until completely smooth.
- Add the starter: Pour the starter mixture back into the milk and whisk gently until it is evenly distributed.
- Prepare the rennet: Stir the liquid rennet into the cool water. Do not add concentrated rennet directly to the milk.
- Add the rennet: Pour the diluted rennet into the milk while whisking gently for about 20–30 seconds.
- Incubate: Put the inner pot back into the Instant Pot, close the lid, and select the Yogurt function. Set the incubation period for about 5 hours.
- Check the set: At the end of incubation, the mixture should look set rather than liquid, with some whey visible around the edges.
- Chill: Cover the pot and refrigerate the yogurt until thoroughly cold. Overnight works particularly well when you want to separate the chilling and straining steps.
- Strain: Transfer the chilled yogurt to a yogurt strainer or cheesecloth-lined fine-mesh strainer. Refrigerate while it drains until the skyr reaches the thickness you prefer.
- Smooth the skyr: Transfer the strained skyr to a bowl and whisk it gently until creamy. If it is thicker than you like, stir in a small amount of reserved whey.
- Sweeten if desired: Add vanilla, honey, maple syrup, or fruit according to how you plan to serve it.
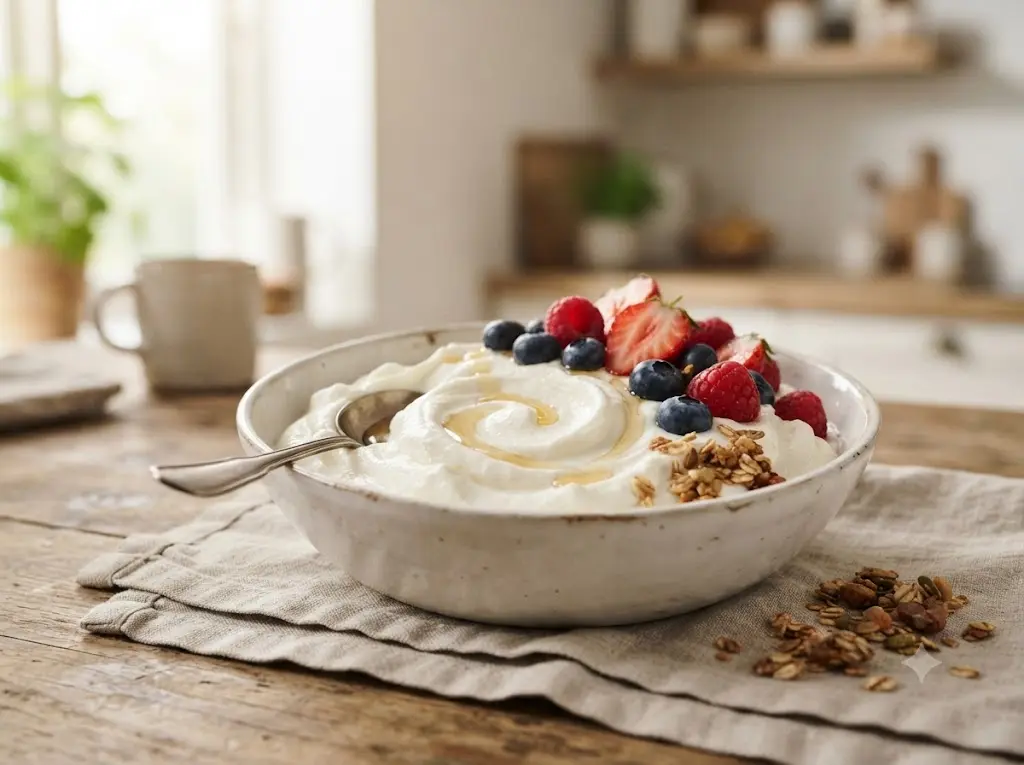
- Serve cold: Spoon the finished skyr into bowls and top with berries, granola, nuts, seeds, or a small drizzle of honey.
Notes
How to Serve Instant Pot Skyr
Keep the finished skyr cold and serve it simply. Try it with:- Fresh strawberries or blueberries
- Banana slices
- Granola
- Chia seeds
- Chopped almonds or walnuts
- Honey
- Maple syrup
- Homemade fruit compote
Storage
Store homemade skyr in a clean, covered container in the refrigerator. Use clean utensils when serving and follow your starter, milk, and equipment manufacturer’s food-safety guidance.Frequently Asked Questions
Can I make skyr in an Instant Pot?
Yes, the Yogurt function provides a convenient controlled environment for culturing milk without pressure cooking.
What are the downsides of skyr?
The main drawbacks are the long fermentation and straining time, plus the whey left after draining.
Is it worth it to make yogurt in an Instant Pot?
It can be worthwhile when you regularly eat thick cultured dairy and want control over the ingredients and texture.
How long should I cook my yogurt in the Instant Pot?
For this skyr recipe, start with about 6 hours of fermentation and adjust longer or shorter for your preferred tang.
Can I make skyr without rennet?
Yes, but without rennet the result is closer to thick strained yogurt than traditional-style skyr.
What is Instant Pot skyr yogurt?
It is cultured milk made with the Instant Pot Yogurt function and then strained to create a thick, skyr-style texture.
What is Instant Pot skyr Icelandic yogurt?
It is a homemade Icelandic-style cultured dairy recipe prepared in an Instant Pot and thickened through straining.
Can I freeze Instant Pot skyr?
Yes, but thawed skyr may become less smooth, so frozen portions are often better for smoothies or cooking.
Is Greek yogurt Instant Pot the same as skyr?
No; both can be made with an Instant Pot and strained, but skyr traditionally uses a different cultured dairy process and often rennet.
Does the Instant Pot Pro yoghurt function work for this recipe?
Yes, Instant Pot Pro models include a Yogurt program designed for culturing dairy, with adjustable fermentation controls.
Final Thoughts
A good skyr recipe instant pot does not need a complicated ingredient list.
The important parts are simple: use a suitable milk, keep your equipment clean, check the temperature with a thermometer, use an active culture, give the mixture enough time to ferment, and strain it until the texture suits you.
Once you understand those steps, instant pot skyr becomes much less intimidating.
And that is really the advantage of making it at home. You can decide how thick, tangy, and simple you want the final bowl to be instead of relying on one fixed texture every time.
I had never considered making skyr this way before, so this Skyr Recipe Instant Pot was especially interesting. The explanation makes the process much easier to understand.